If you searched for Zentangle patterns, you probably want a list of shapes you can copy today. Here are 14 easy tangle patterns you can draw with a pen and paper, each explained in a few short steps. We use our own plain names for them, since a good pattern is really just a few lines you repeat.
A note on the word: "Zentangle" is a registered trademark of a specific drawing method. These patterns are general pattern drawing ideas, not the official ones, and they are not taken from any official course. If you want to learn the official method, look for the creators' own classes. If you simply want fun designs to fill a page, keep reading.
New to the idea? Start with our overview of what Zentangle is and how tangle-style drawing works, then come back here.
- Draw a square or circle with a pencil, then split it into sections with a loose curved line. Fill each section with a different pattern.
- Use a fine black pen. Press lightly at first.
- Work slowly. Most patterns look best when the lines are evenly spaced, but a little wobble is fine.
- You can draw each pattern at any size. Big versions are easier. Tiny versions look more impressive.
The simplest pattern, and a great way to warm up.
- Draw a straight line across the section.
- Draw a second line close to it, about the width of a pen tip apart.
- Keep adding lines until the section is full.
- Switch it up: make the stripes curved, or make them wide and narrow in turn.
Tip: fill every second stripe with black ink to make it pop.
Overlapping half circles that look like fish scales or roof tiles.
- Draw a row of small half circles side by side, like a row of rainbows.
- Draw the next row below, with each half circle sitting in the gap between two above.
- Keep stacking rows until the section is filled.
- Optionally, draw one smaller curve inside each scale.
A pattern with almost no skill needed.
- Draw a row of circles of different sizes, loosely touching.
- Inside some of the circles, draw a smaller circle.
- Fill a few of the tiny circles solid with ink.
- Fill the gaps between circles with tiny dots.
- Draw a long curvy line across the section, like a snake.
- Draw a second line beneath it that follows the same curve.
- Repeat until the section is full.
- For a variation, add a small dot in each curve.
- Draw a grid of squares. Use a ruler if you want it neat.
- Fill in every other square with black, like a chess board.
- For a softer look, fill the other squares with a few diagonal lines.
- Draw a line that goes up and down in sharp points across the section.
- Draw a second zigzag directly under it, with the points lined up.
- Repeat. The gaps between lines will make a series of long stripes.
- Color alternate bands solid for a bold, graphic look.
- Start at the center of a small circle and draw a line curling outward.
- Stop after two or three turns.
- Draw another spiral next to it. Let the lines nearly touch.
- Fill the leftover space with dots.
- Draw a small circle.
- Around it, draw rounded petal shapes, like the petals of a daisy.
- Draw a second ring of petals behind the first, with each petal peeking out between two others in front.
- Shade the base of each petal for depth.
- Draw a row of rectangles side by side.
- Draw the next row so that each rectangle sits over the join between two below.
- Fill every few bricks with different tiny details: a dot, a line, a cross.
- Draw a set of parallel diagonal lines.
- Draw another set going in the opposite direction, so they cross to form diamonds.
- Fill some diamonds in with ink.
- Leave other diamonds blank to get a contrast of dark and light.
- Draw a gentle curved line for the stem.
- Draw a pointed oval on each side of the stem, tilted upward.
- Add a short center line in each leaf.
- Repeat along the stem, making the leaves smaller toward the tip.
- Draw circles of different sizes crowded together. They can overlap a little.
- In each circle, draw a small curved line near the edge to suggest a highlight.
- Shade the opposite side of a few bubbles with pencil.
- Draw two lines that curve together, like a long band that bends.
- Add a short cross line where the ribbon folds over.
- Draw a second ribbon alongside, so they weave over and under each other.
- Fill the bands with stripes or leave them plain.
- Draw a row of tall, narrow arches, like the tops of windows.
- Draw a smaller arch inside each one.
- Do it again inside that, if there is room.
- Row after row, stack them like a rainbow wall.
The magic happens when patterns meet. A few guidelines help:
- Contrast big and small. Put a bold pattern like checkerboard next to a delicate one like scales.
- Contrast dark and light. A section that's mostly black draws the eye. Balance it with an airy one.
- Contrast straight and curved. Zigzag next to waves works well.
- Repeat one pattern. Using the same pattern in two spots ties the page together.
- Let the lines cross the edges. Letting a pattern slightly overlap a neighbor can look natural and take pressure off.
When the ink is dry, run a soft pencil along one side of shapes and smudge it. A cotton swab works well. Or add color with colored pencils, markers or gel pens. Our guide on how to color with colored pencils covers layering and blending, and our gel pens guide shows how white and metallic ink look on dark paper.
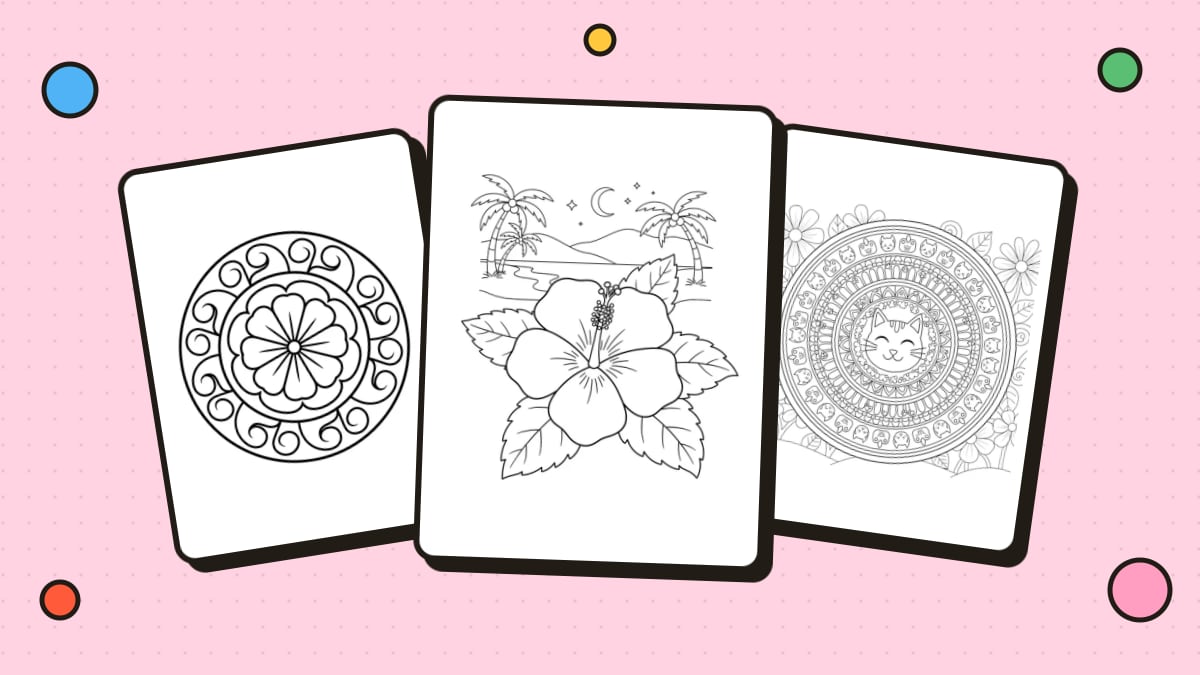
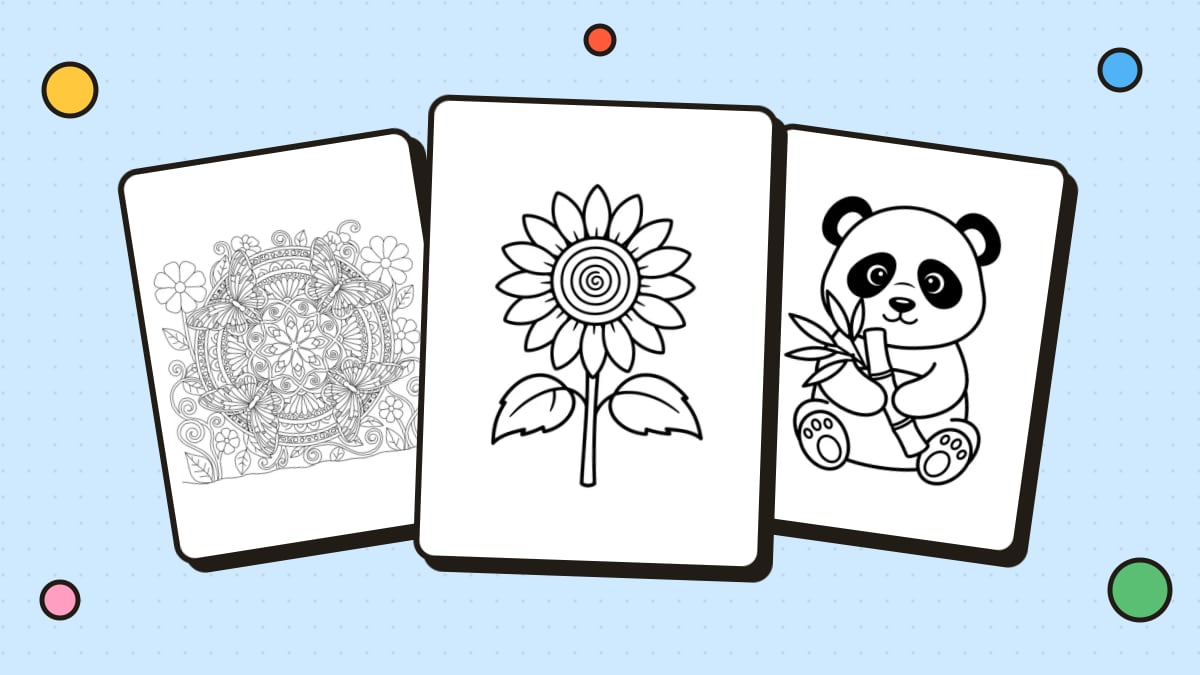
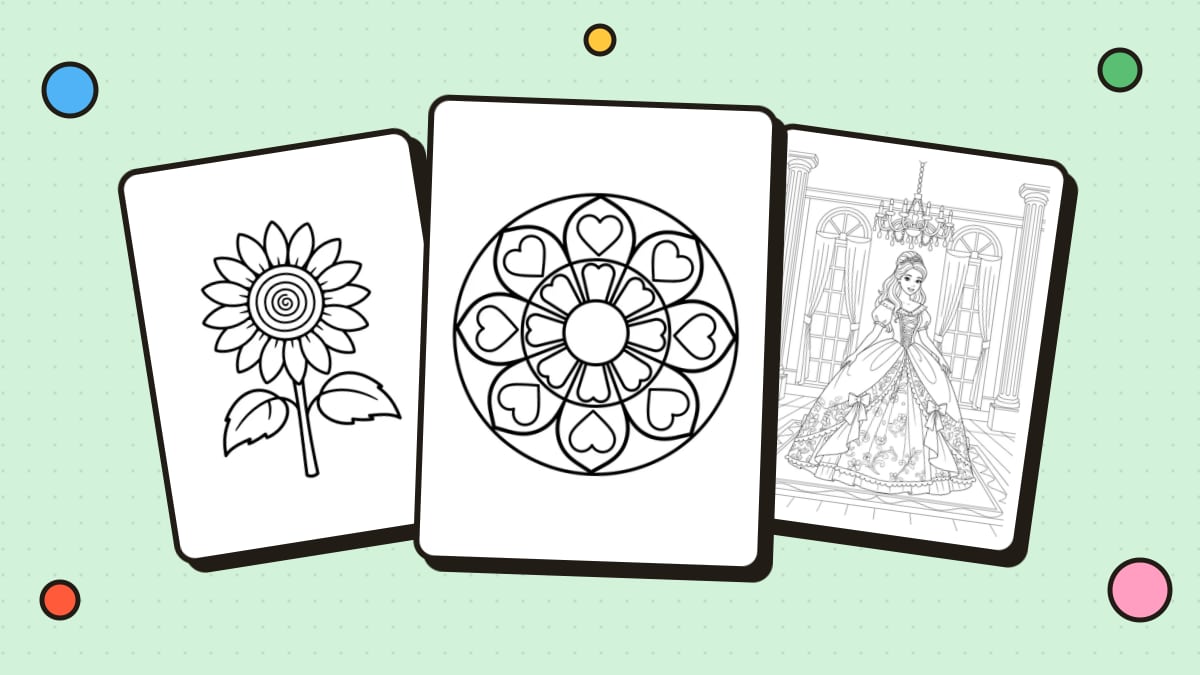
For practice with ready-made designs, browse our mandala coloring pages. Many of them are built from repeated patterns, so they work as an easy way to see how designs fit together before you draw your own. You can also try flower coloring pages for petals and leaves.
No. They are general pattern drawing ideas with our own simple names. "Zentangle" is a trademark for a specific method, and these steps are not from its official materials.
Stripes and dots and circles. They use basic lines and need no planning.
Whatever feels comfortable. Large patterns are easier. As you improve, try drawing the same pattern in a smaller space.
Keep going. Draw a shape over it, or turn it into part of the pattern. Pattern drawing is forgiving.
Sure. A black pen gives the classic look. Colored pens are fun once you are comfortable with the shapes.