Anyone can fill in the lines. A few coloring techniques turn a flat page into something with depth, texture and a clear light source. None of them need special talent or expensive supplies. This guide explains nine techniques, shows which tools suit each one, and ends with a short plan for practicing so that the tips coloring beginners read online actually stick.
Before you start: the three things that matter most
Almost every technique comes down to pressure, direction and order. Press lightly at first, because you can always add color but rarely remove it. Move your hand in one consistent direction inside each area. And work from light to dark, since a pale color laid over a dark one hardly shows.
1. Layering
Layering means building a color from several light passes instead of one heavy one. It is the base for almost everything else. With pencils and crayons, each pass fills a little more of the paper's texture, so the color gets richer and smoother. With markers, a second pass darkens the shade. Aim for three light layers rather than one hard one.
2. Blending
Blending softens the edge between two colors. Lay the first color, then overlap the second where they meet, using light pressure and small back-and-forth strokes. Crayons blend well with a white or pale crayon over the join. Pencils blend with a colorless blender or a light pencil. Markers blend best while the ink is wet, so work one small section at a time and keep the lighter color moving into the darker.
3. Shading
Shading makes a flat shape look round. Pick a light source, say the top left, and keep every shadow on the opposite side. Fill the shape with a medium tone, then add a darker tone along the shadow edge and let it fade into the middle. A ball, an apple and a leaf all gain volume from the same simple move.
4. Gradients
A gradient shifts smoothly from one color to another, as in a sunset sky. Start with the lightest shade at one end, add the next shade overlapping the first, and keep going until the last. For a two-color gradient, press harder at the far ends and lightest where the colors meet. Use short strokes in the same direction so the transition looks even.
5. Hatching and cross-hatching
Hatching is a set of parallel lines, close together for dark areas and wide apart for light ones. Cross-hatching adds a second set at an angle. Both work well with fine-tip pens and sharp pencils, and they add a drawn texture that solid color cannot. Try hatching on the dark side of a tree trunk or a pot.
6. Stippling
Stippling uses dots instead of lines. More dots close together mean a darker area. It is slow, but it is excellent for sand, stone, animal noses and any rough surface. Use a fine-tip marker or a sharpened pencil and tap rather than drag.
7. Highlights
A highlight is the place the light hits hardest, so leave it white or very pale. Skip a small spot on an eye, a water drop, a cherry or a window. If you forget, a white gel pen or a clean eraser lifts the color back out of pencil. Highlights are a small step that makes a big difference.
8. Color choice
Colors that sit near each other on the color wheel look calm together: blues with greens, reds with oranges. Colors across from each other, such as blue and orange, make each other pop. Choose a main color, add one neighbor and one contrast, and you have a palette that works. For shadows, try a darker version of the object's color, or add a touch of its opposite, instead of reaching for black.
9. Texture
You can fake texture with strokes. Short, quick flicks suggest fur. Long, curved lines follow hair. Small circles suggest wool, and dots imitate stone. Match the stroke to the surface and the page seems to feel different under your fingers.
Coloring techniques by tool
- Crayons: best for layering, bold color and rubbing texture. Keep the points slightly rounded for large areas and use the tip for edges.
- Colored pencils: the most flexible tool. All nine techniques work, and sharpening often is half the battle. For more depth on this tool, read how to color with colored pencils.
- Markers: best for fast, bright color and gradients while wet. Test on a scrap sheet first, as ink behaves differently on each paper. See the guide to the best markers for coloring.
A practice plan
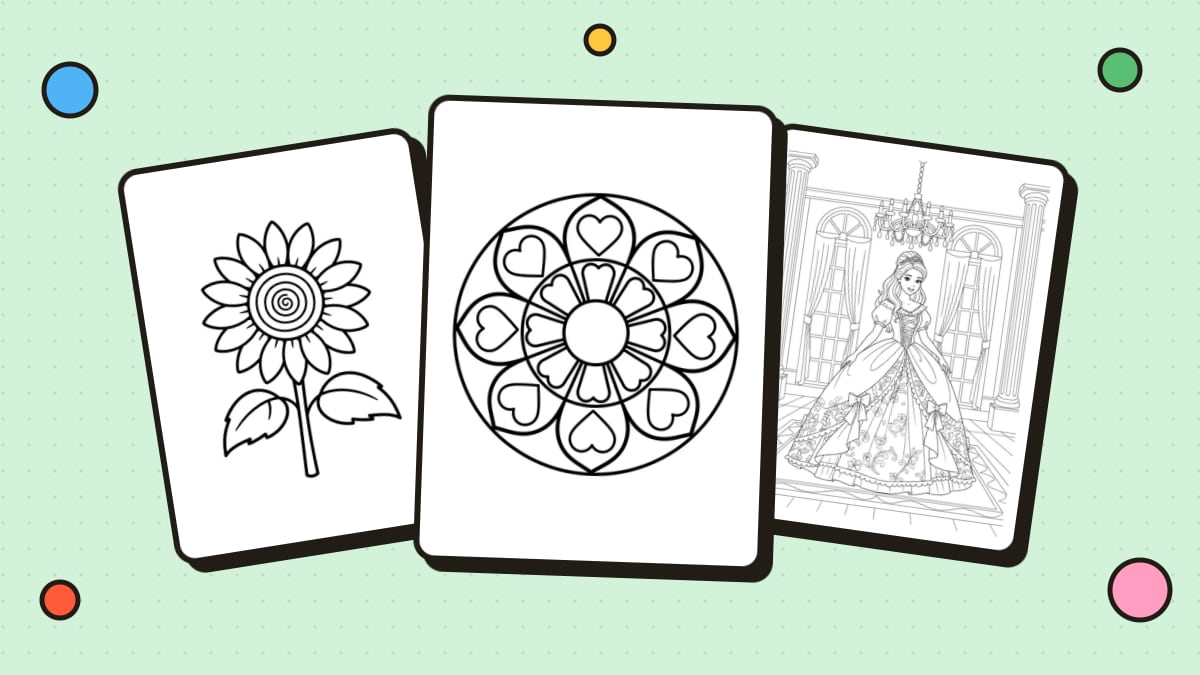
Print a simple page with a few large shapes, such as a flower from the flower coloring pages or a mandala. Color the first petal with layering only, the second with shading, the third with a gradient, and so on. Keep that page as a reference. A week of ten-minute sessions teaches more than one long afternoon.
If you prefer to follow a guide while you practice, try a numbered page. In a color by number page the key picks the colors, which leaves your attention free for pressure and blending.
FAQ
What is the easiest coloring technique to start with?
Layering. Press lightly, add a second pass in the same direction and watch the color deepen. It needs no extra tools and improves everything else you do.
How do I stop my coloring from looking streaky?
Use consistent strokes in one direction, light pressure and several layers. With markers, work quickly while the ink is wet and avoid going back over dry areas.
Can I blend crayons without special tools?
Yes. Overlap two colors where they meet, then go over the join with a white or pale crayon. Light pressure and small circles help.
How long does it take to improve at coloring?
You will see a difference within a few sessions. Practicing one technique at a time on a simple page works faster than trying everything at once.