Zentangle is a method of drawing small, repeating patterns inside a framed space, one calm stroke at a time. You don't need to know how to draw. You use a pen, a small piece of paper and a handful of simple lines, and the pattern builds itself as you go.
One quick note before we start. "Zentangle" is a registered trademark. It is the name of a specific teaching method with its own official classes, kits and approved teachers. This guide is not that. It is a general introduction to the idea behind it, and a set of steps you can follow for what we'll call tangle-style drawing: filling a page with repeated patterns, with no official materials and no special training. If you want the official method, look for the creators' own courses.
The idea is simple. You take a big, scary task (making a drawing) and break it into tiny, easy pieces (single strokes). Each stroke is easy. Add a few hundred and you have something that looks impressive.
A few things set it apart from ordinary doodling:
- Structure. You draw a border first, then divide the space into sections. Each section gets its own pattern.
- Repetition. A pattern is a short set of steps you repeat. Lines, curves, dots and circles do most of the work.
- No eraser, no goal. There is no "right" result. If a line wobbles, you keep going, and the pattern absorbs the mistake.
- Small size. Many people work on a square about the size of a coaster, which keeps the project from feeling like a big commitment.
People enjoy it for the same reasons they enjoy coloring. It gives your hands something to do, it slows your pace, and you end with something finished in twenty minutes or so.
You can start with things already in your house.
- Paper. Any paper works. Smooth, slightly thick paper or light cardstock is nicest because ink doesn't bleed. Cut it into squares of about 3.5 to 4 inches if you like the small format.
- A fine black pen. A pen with a fine tip, around 0.3 to 0.5 mm, is a good size. A regular ballpoint works too if that's what you have.
- A pencil. For the light border and guide lines you'll mostly ink over.
- A shading pencil (optional). A soft pencil, such as a 2B, for adding shadows at the end. A cotton swab or a folded tissue helps smudge it smooth.
- A ruler (optional). The border is fine freehand. A ruler gives straighter lines if you prefer them.
Fancy pens and special paper can wait. Try the method first and see if you enjoy it.
Here is one way to build a first piece. Give yourself 20 to 30 minutes and put your phone out of reach.
With a pencil, draw a square or any shape you like, a little inside the edge of the paper. Press lightly. This is your frame. It tells your brain where the drawing begins and ends, which makes it much easier to relax.
Put a small pencil dot near each corner, just inside the border. These are anchor points for the next step. They're optional, but they make a string easy to draw.
A string is a loose line that divides your square into sections. Draw a curve or a zigzag from one side of the square to another, or connect the corner dots with gentle curves. Keep it simple. Two or three lines crossing the square gives you three to five sections.
Pick one repeating pattern for each section. Start with the easy ones: stripes, rows of circles, little scales, a grid with dots in each box. We cover a dozen of them, with steps, in our guide to simple tangle patterns.
Take your pen and begin in the first section. Draw the pattern slowly. When you reach the edge of the section, stop at the pencil line. Don't worry about perfect edges.
Move on, one section at a time. It helps to put patterns with a lot of black next to patterns with a lot of white so the drawing has some contrast. Try to pick patterns of different sizes too: one with big shapes, one with small, one with straight lines, one with curves.
Once all the ink is done, take your shading pencil and run it along one side of the shapes and along the inside edge of the border. Smudge it lightly with a finger or cotton swab. This is what turns a flat pattern into something that looks like it has depth.
It sounds silly, but a small signature on the back makes it feel like a finished piece. Over time a stack of these shows how much your lines have improved.
- Don't aim for neat. Your hand will shake at first. A wobbly line is part of the look.
- Rotate the paper. If a curve feels awkward in one direction, turn the paper instead of twisting your wrist.
- Don't erase. Ink is not the place for second guesses. Fix a bad line by adding a shape on top of it.
- Keep sessions short. Ten minutes counts. A tiny tile you finish feels better than a huge page you abandon.
- Mix easy and hard. Start with patterns made of two or three steps. Try longer ones when you want a challenge.
- Work in a quiet spot. Some people like music. Others like silence. Either way, try not to multitask.
Most first attempts run into the same few problems.
Making the sections too small. Tiny sections are hard to fill and look cluttered. Two to five sections per tile is plenty.
Using the same pattern everywhere. Variety is the fun part. Change the size, density and direction.
Pressing too hard with the pencil. Heavy pencil lines show through the ink. Keep the guide lines light.
Skipping the shading. Shading is the last step, and the one that makes people say "wow". Even a little makes a difference.
Many people say so. Focusing on one small stroke at a time leaves little room to worry about other things, and you get a sense of accomplishment from watching a pattern fill in. We don't want to promise medical benefits. Think of it the way you'd think of a walk or a long bath: a pleasant way to slow down. If you're curious why activities like this feel calming to many people, read our post on coloring therapy.
Once you've filled a few tiles in black and white, you may want to try color. Here are some easy ways in.
- Color a tile with colored pencils. Pick two or three shades and use them throughout. A limited palette looks neater than a rainbow.
- Use a gel pen for details. White or metallic gel pens look great on top of pencil or marker. See our post about gel pens for how to use them.
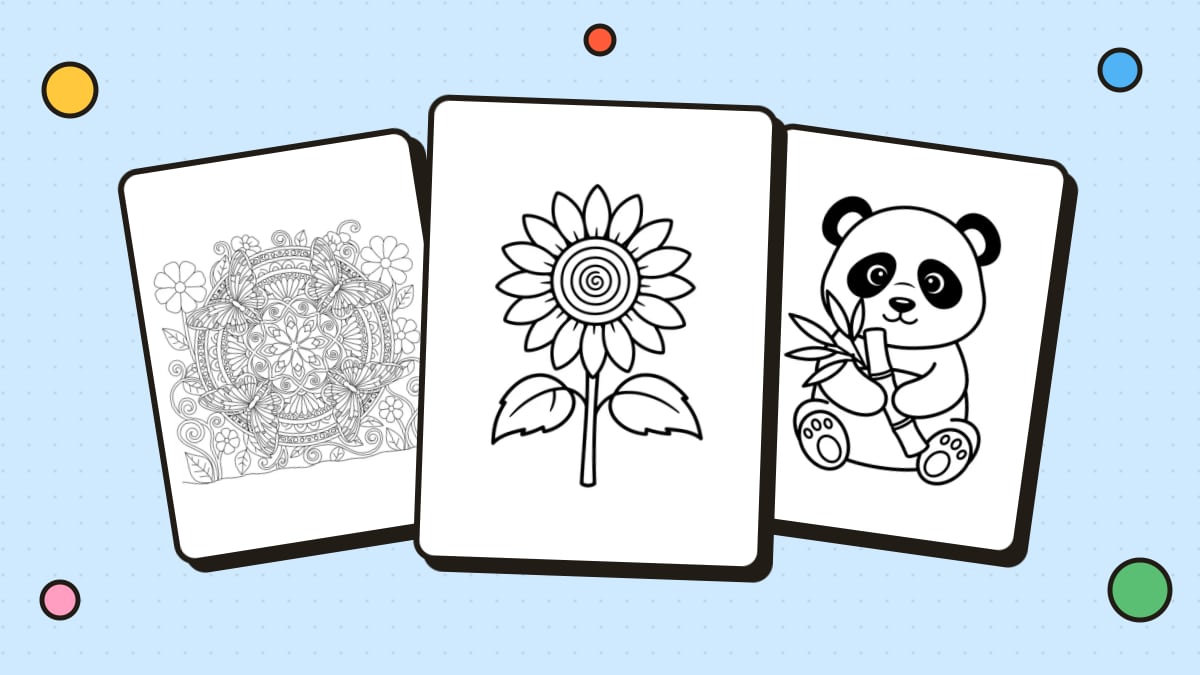
- Start with a coloring page that already has patterns. Many mandala coloring pages are made of repeated shapes, so they feel a lot like tangle-style drawing without the drawing. You can also try flower coloring pages, which are full of petals and leaves that suit pattern practice.
- Make a page of your own. If you'd like to turn your pen drawing into something to color, the photo to line art tool on this site can help you create outlines from a photo of your work. It uses credits.
It is the name of a specific drawing method, and it is a registered trademark. In everyday use, people often use the word for any kind of structured, repeating pattern drawing. This guide uses the plain terms "tangle-style drawing" and "pattern drawing".
No. You only need to be able to draw a line, a curve, a dot and a circle. The patterns are built from those shapes.
A fine black pen, about 0.3 to 0.5 mm, is a good all-round size. Choose one with ink that doesn't smear when it dries.
Plenty of people finish a small tile in 15 to 30 minutes. Larger pages can take an hour or more.
Yes. Simple patterns like stripes, dots and circles work well for children. Younger kids may prefer thicker markers on larger paper.
Doodling is usually free and random. Tangle-style drawing uses a border, sections and repeated steps, so it feels more like building than scribbling.