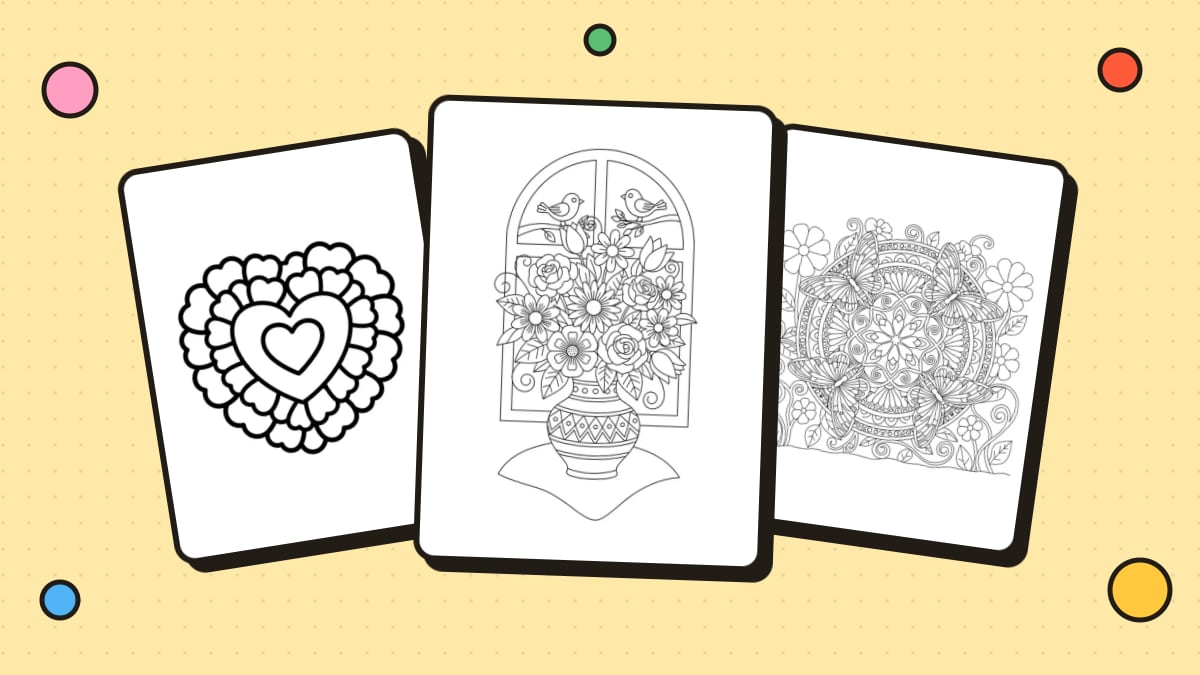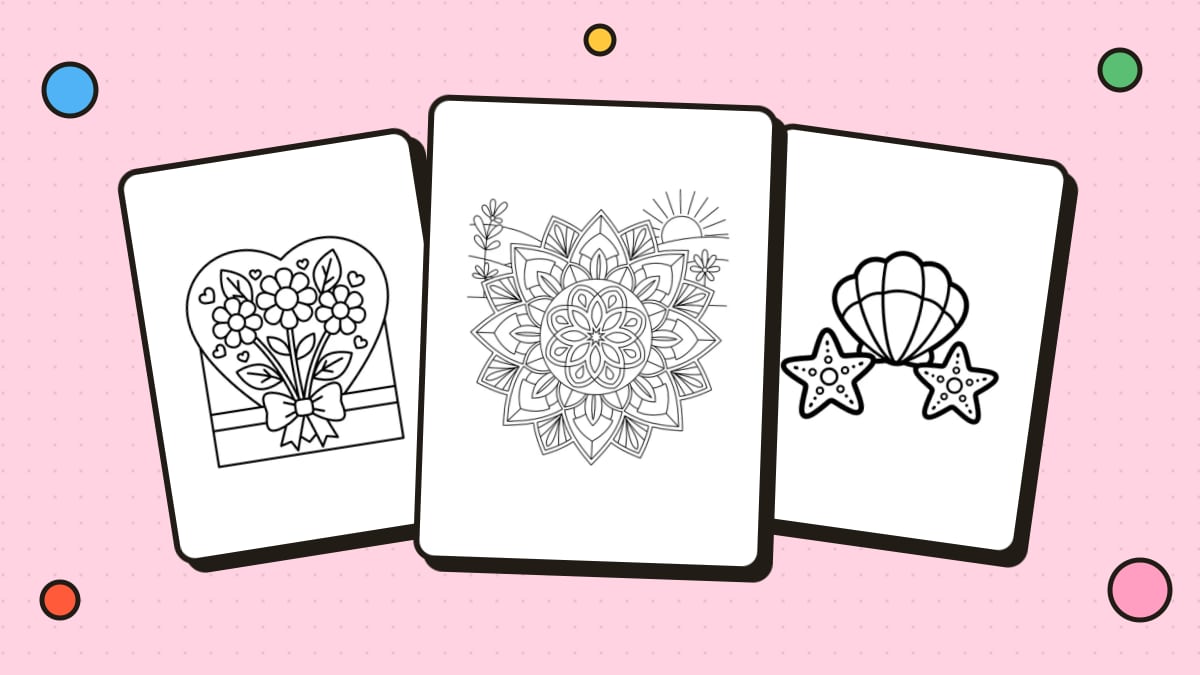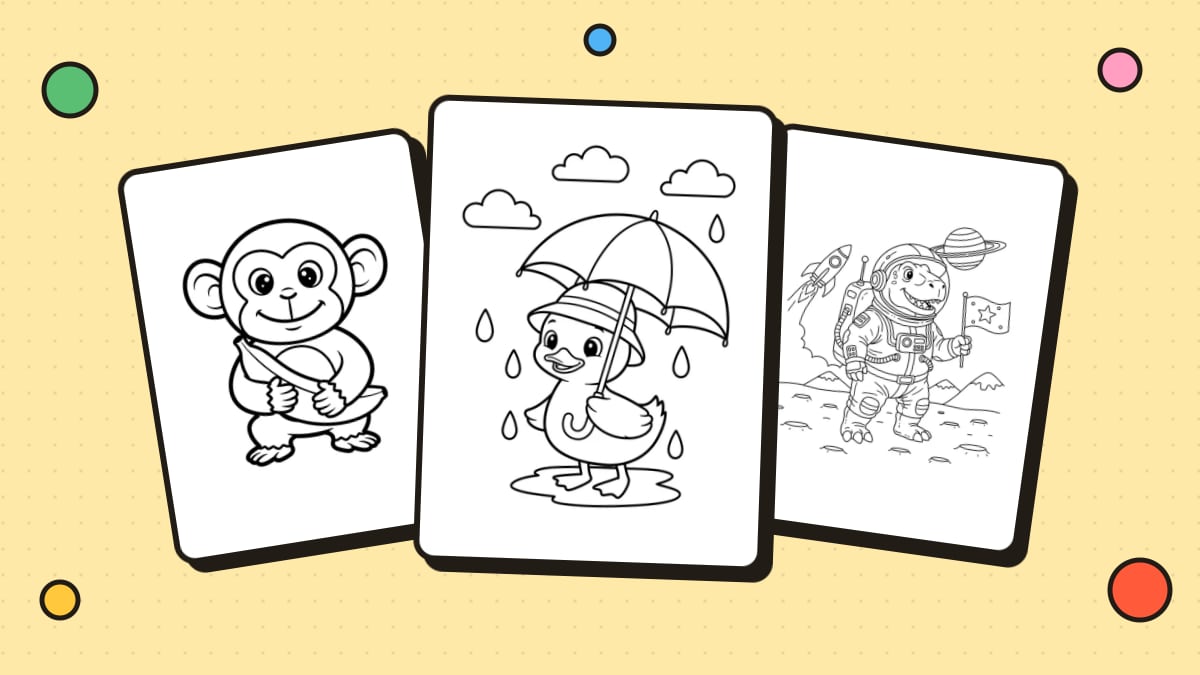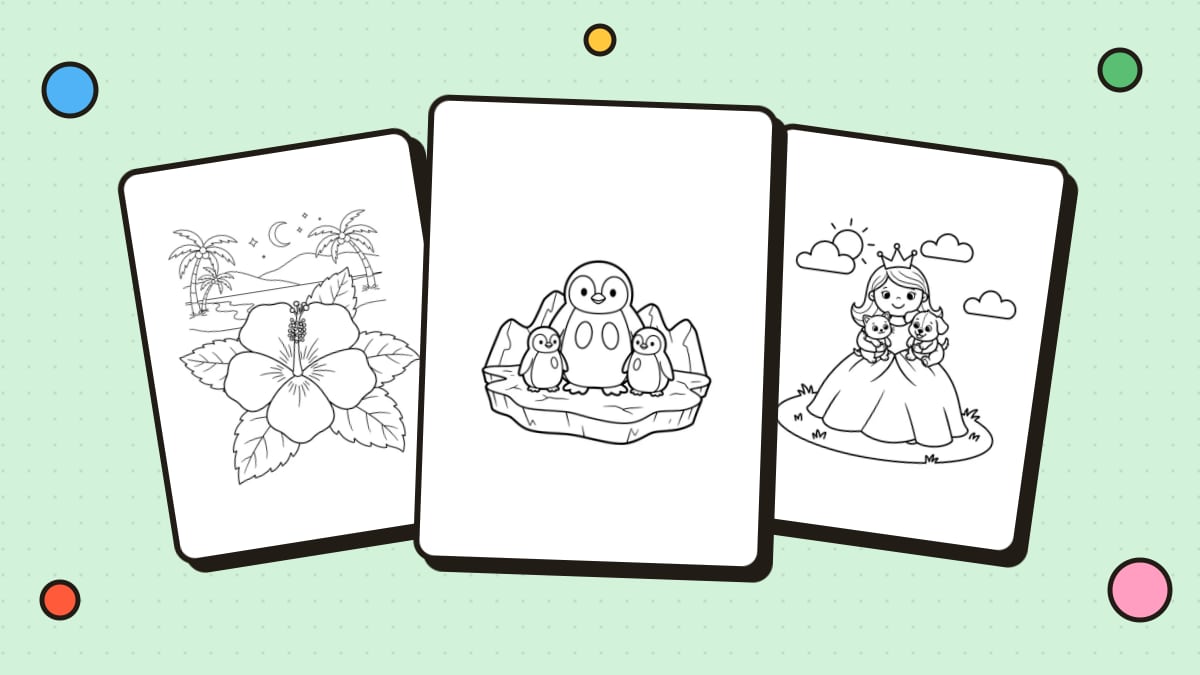
Colored pencils are the most popular tool for coloring pages, and for good reason. They're easy to control, don't bleed through paper and can produce anything from soft pastels to rich, glowing color. But there's a big difference between scribbling color in and coloring with technique. These 12 coloring tips will take your pages to the next level.
1. Keep your pencils sharp
A sharp point gets into small spaces and lays down even color. A duller point is useful for covering large areas softly. Keep a good sharpener nearby and sharpen often.
2. Use light pressure first
Beginners often press hard from the start. That flattens the paper's texture (its "tooth") so it can't hold more color. Start light and build up color in layers. You can always add more; it's hard to take color away.
3. Layer your colors
Professional-looking coloring comes from layers. Apply several light layers of the same color, or different colors, on top of each other. Each layer fills in more of the paper's texture, making the color richer and smoother.
4. Color in small circles or consistent strokes
Small, overlapping circles give the smoothest coverage. If you prefer strokes, keep them going in the same direction within an area, or follow the shape of the object (for example, along the length of a leaf or the curve of a petal).
5. Work from light to dark
Lay down your lightest colors first and add darker shades on top. Dark colors are hard to lighten, while light colors are easy to deepen.
6. Pick a light source
Decide where the light comes from, such as the top left, and keep it consistent across the whole page. Areas facing the light stay lighter; areas facing away get darker. This one decision makes flat drawings look three-dimensional.
7. Shade with two or three shades of one color
For each area, choose a light, medium and dark version of a color. Fill the whole shape with the light shade, add the medium shade on the side away from the light, and touch the darkest shade into the deepest shadows.
8. Blend for smooth transitions
To blend two colors, overlap them where they meet with light pressure, going back and forth until the edge disappears. You can also blend with:
- A colorless blender pencil, which smooths layers together without adding color
- A white or very light pencil layered on top to soften colors
- A paper blending stump to gently push color together
9. Try burnishing for a polished finish
Burnishing means pressing firmly with a light-colored or colorless pencil over your layers at the end. It fills the remaining paper texture and creates a smooth, almost shiny finish. Burnish last, since you can't add many layers after.
10. Add highlights
Leave small areas white for highlights on shiny surfaces like eyes, water, glass and fruit. If you forget, a white gel pen can add highlights on top of finished coloring.
11. Use complementary colors for shadows
Instead of using gray or black for every shadow, try a darker shade or a complementary color. A little purple in the shadows of yellow, or blue in the shadows of orange, looks more natural and vibrant.
12. Make a color chart
Color a small swatch of each pencil on a sheet of the same paper you color on and label it. Pencil colors often look different from the barrel, so a chart saves guesswork.
How to choose colored pencils for adult coloring
Wax-based vs oil-based
- Wax-based pencils are usually soft and creamy, blend easily and give rich color. They can develop a slight hazy "wax bloom" after heavy layering, which wipes off with a soft cloth.
- Oil-based pencils are usually a little harder, hold a sharp point longer and are great for fine details. They don't get wax bloom.
Both are excellent; many colorists use both together.
Student vs artist grade
- Student-grade pencils are cheaper and fine for kids and beginners, but usually have less pigment.
- Artist-grade pencils have more pigment, so colors are brighter and blend better. They cost more but last longer, since you need less pressure.
Set size
You don't need 150 colors. A set of 24 to 48 colors with good light, medium and dark versions of the main colors is plenty for most coloring. You can add individual pencils later.
Choosing paper
Colored pencils work on almost any paper, but slightly textured, heavier paper holds more layers. When you print our free coloring pages, use 28 to 32 lb (about 100 to 120 gsm) paper or light cardstock for the best results. See how to print coloring pages for printer settings.
Practice pages
Practice these techniques on pages with a mix of large and small spaces:
- Flower coloring pages are perfect for practicing shading and blending petals.
- Mandala coloring pages are great for color palette practice.
- Animal coloring pages help you practice fur and feather textures.
New to coloring as a hobby? Start with our guide to coloring for adults.
FAQ
How do you make colored pencils look smooth?
Use light pressure and build up several layers with small circular strokes. Finish by blending with a colorless blender or burnishing with a light color.
Why does my colored pencil coloring look patchy?
Usually because of uneven pressure or inconsistent strokes. Slow down, use small circles and add more light layers instead of pressing harder.
Can you blend colored pencils without a blender?
Yes. Layer the two colors where they meet with light pressure, or go over them with a white or light-colored pencil.
What's the difference between wax and oil colored pencils?
Wax-based pencils are softer and creamier; oil-based pencils are firmer and hold a point longer. Both blend well, and many artists use them together.