A bookmark is one of the easiest things you can make by hand. It needs a strip of paper or a scrap of fabric, a bit of decoration and about fifteen minutes. These 15 DIY bookmark ideas range from five minute crafts for kids to more careful projects for gifts, and each one has clear steps.
Pick the one that matches your supplies and your patience.
- Size. Most bookmarks are about 2 inches wide and 6 inches tall. A narrow strip fits most books. Make the width smaller for small paperbacks.
- Paper. Cardstock or thick paper stays flat and lasts. Regular printer paper works but bends easily.
- Protect it. A bookmark that sits in books gets handled a lot. Sealing it makes it last longer. Clear packing tape, a laminating pouch or clear contact paper does the job.
- Round the corners. Cut the corners round with scissors so they don't catch on pages.
- A hole is optional. If you want to add a tassel or ribbon, use a hole punch near the top.
1. Coloring page bookmarks
This is the simplest idea, and a good one for kids and adults.
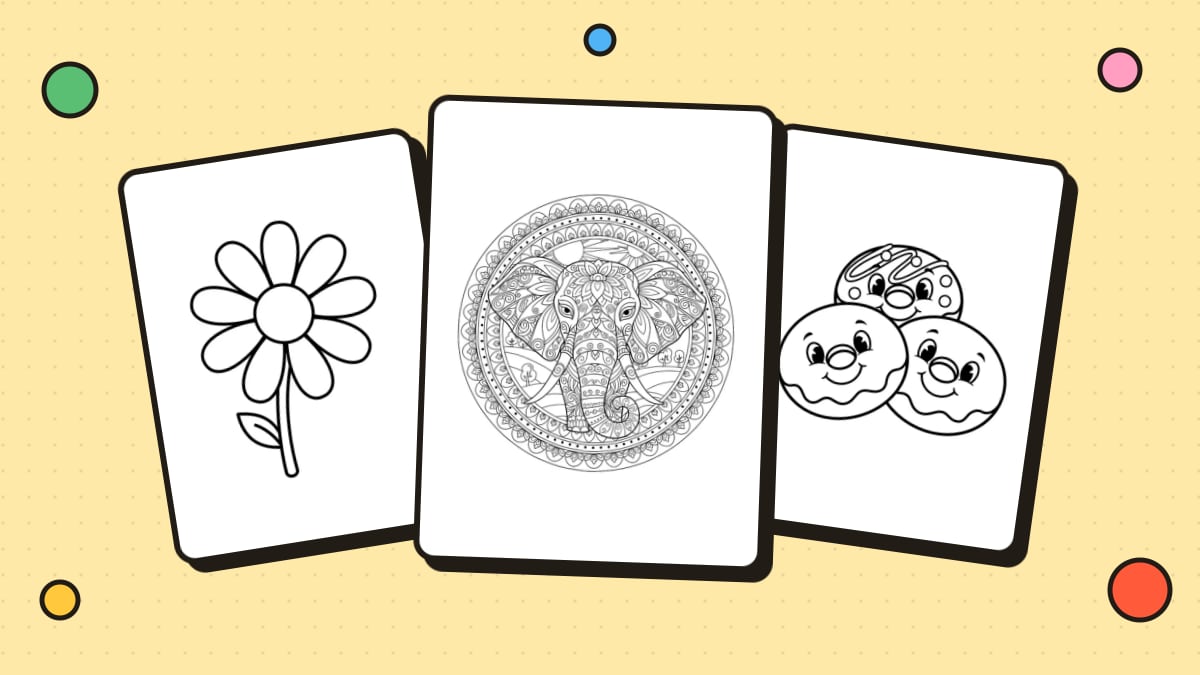
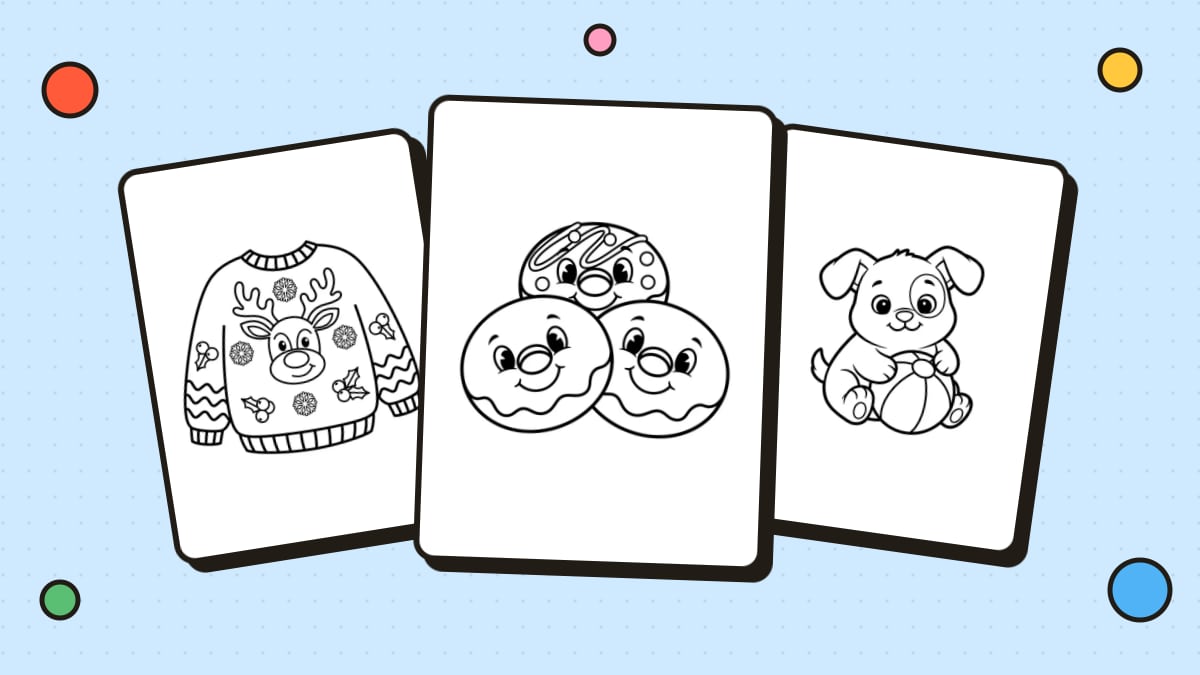
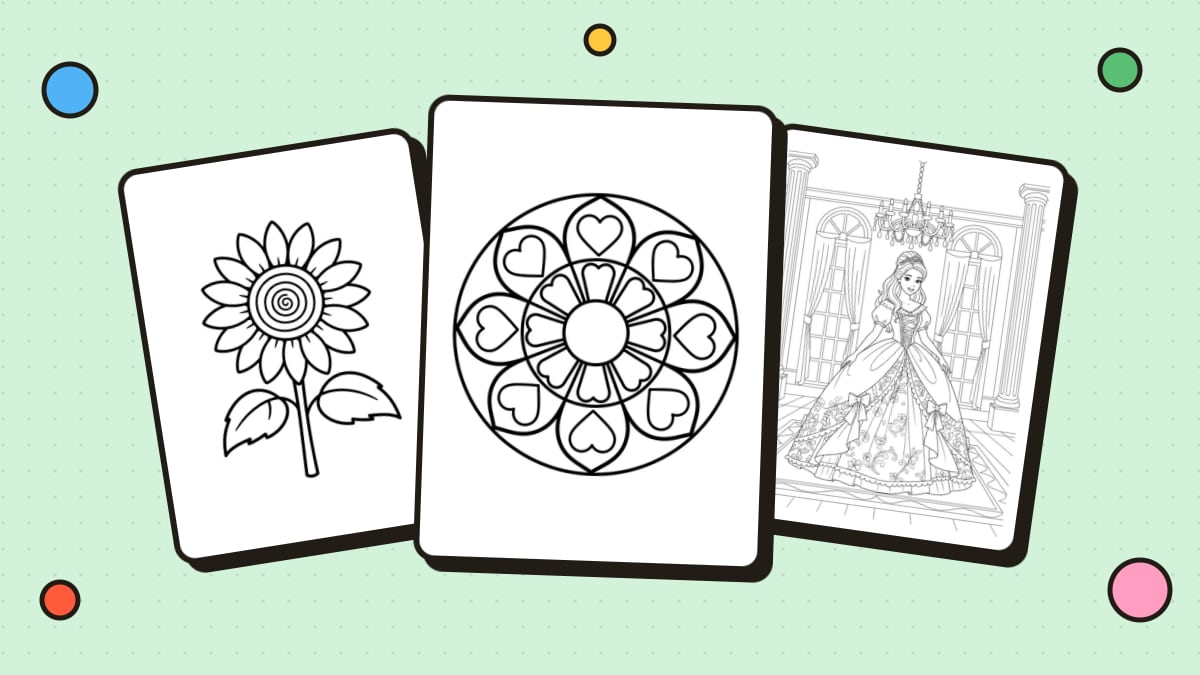
- Print a coloring page. A page with a repeating pattern or a tall design works well. You can browse our mandala coloring pages, flower coloring pages or animal coloring pages.
- Color it with pencils, markers or gel pens.
- Cut out a strip about 2 by 6 inches from the colored area.
- Glue it to a piece of cardstock for strength, or laminate it.
- Punch a hole and tie on a piece of yarn if you like.
For printing tips, see how to print coloring pages.
Tip: print the page twice and make a pair, one for you and one for a friend.
A corner bookmark slides over the corner of a page, so it never falls out and doesn't leave a bulge in the book. It is made from a folded square.
- Cut a square of paper about 4 by 4 inches.
- Fold it in half diagonally to make a triangle.
- With the long edge at the bottom, fold the right corner up to the top point.
- Fold the left corner over to meet it, so the two corners overlap in the middle.
- Tuck the last flap into the pocket of the other side.
- Decorate the front with a face or pattern. A little animal face with two pointed ears is a classic.
Once the pocket is formed, slide it over the corner of the page you want to mark.
- Pick a few small, flat flowers or leaves. Daisies, pansies, ferns and clover work well.
- Press them between sheets of paper inside a heavy book for one to two weeks until they are completely dry.
- Cut a strip of cardstock.
- Glue the pressed flowers on with a tiny amount of glue.
- Cover the strip with clear contact paper or laminate it, sealing all the edges.
- Trim the edges and round the corners.
Sealing matters. Without it, the petals can crumble or leave marks on pages.
- Cut a length of ribbon, about 8 to 10 inches.
- Cut the ends at an angle, or into a small V notch.
- To stop fraying, dab a little glue along the cut ends, or use pinking shears.
- Add a small bead, button or charm at one end if you like.
Ribbon sits flat, which is gentle on the book.
A magnetic bookmark clips over the page like a tiny clamp.
- Cut a strip of cardstock about 2 inches wide and 3 inches tall.
- Decorate the front.
- Fold the strip in half so the decorated side faces out.
- Glue a small flat magnet inside each half, lining them up so they attract.
- Let the glue dry fully, then clip it over a page edge.
Keep small magnets away from young children and pets. Magnets are a swallowing hazard.
- Tape a strip of thick paper to a board.
- Wet the paper lightly and drop in two or three colors of paint. Let them blend.
- Sprinkle a little salt on the wet paint for a starry effect, then brush it off when dry.
- Cut into strips and seal or laminate them.
If you don't have paint, watercolor pencils work. See our post on watercolor pencils.
- Take a large paper clip.
- Cut a small shape from paper or felt, like a heart, a flower or an animal face.
- Glue the shape to the outer part of the clip, so it sticks out.
- Slide the clip over the page.
This is a fast gift idea, and it is easy to make a whole set.
- Cut a strip of felt about 2 by 6 inches.
- Cut a few small shapes from other colors of felt: stars, hearts or letters.
- Glue them on, or sew them with a few simple stitches.
- Trim the ends into a point or a curve.
Felt doesn't fray, so it needs no sealing.
- Make a bookmark from any of the ideas above and punch a hole at the top.
- Wrap embroidery floss or yarn about 20 times around your fingers.
- Slide the loop off and tie it tightly near the top with another thread.
- Cut the loops at the bottom and trim to even length.
- Loop the tassel through the hole.
Make a bookmark with a name on it. This is a nice gift for a classmate or a friend.
- Write the name in big letters with a pencil.
- Trace it in a marker and decorate each letter with a pattern.
- Or print a decorated name from our name coloring page tool, then color it in. It uses credits.
- Cut, mount and seal as above.
Many simple origami figures work as bookmarks. A folded heart or an origami pocket is quick to learn. Start with a small square of thin, crisp paper. You can find folding diagrams in craft books at your library.
- Pick a photo you like. A pet, a place or a favorite view works.
- Print it in a tall, narrow shape.
- Glue it to cardstock and seal it.
If you'd like to turn a photo into something to color first, our photo to coloring page tool can do that. It uses credits.
- Pick a short line from a favorite book, or a line you wrote yourself.
- Write it by hand on a strip of cardstock.
- Add a border and a doodle or two. See our list of doodle ideas for inspiration.
- Seal it.
- Cut a strip of cardstock.
- Cover it with overlapping strips of decorative tape, in any pattern.
- Trim the edges.
- Add tape to the back as well to make it stronger.
- Cut a strip of white cardstock.
- Draw a light pencil border and split it into sections.
- Fill each section with a repeating pattern in black pen. We have 14 easy options in our guide to tangle patterns.
- Add a little shading or color.
- Seal it.
- Seal both sides. Clear tape, laminate or contact paper keeps color from rubbing off.
- Avoid wet materials. Anything still damp can mark pages. Make sure glue and paint are dry.
- Avoid thick lumps. A bookmark with a big bead or button can leave dents in the pages. Keep thick bits at the top, where they stick out.
- Be gentle with library books. Check with the library first, and use a plain paper or ribbon bookmark rather than anything sticky.
- Cardstock or heavy paper
- Scissors, and a ruler if you want straight lines
- Glue stick or craft glue
- Markers, pencils or gel pens
- Clear tape or laminating pouches
- Hole punch and yarn or ribbon (optional)
About 2 inches wide and 6 inches tall suits most books. Go narrower for small paperbacks.
Cardstock. It holds its shape and takes pencil, marker and glue well.
Seal it with laminate, contact paper or wide clear tape, and round the corners.
Coloring page bookmarks, ribbon bookmarks and washi tape bookmarks are simple and need few supplies.
Yes. Wide clear packing tape or self adhesive contact paper works well.