The best pumpkin carving ideas are the ones that match your skill, your tools and your patience. If you've never carved before, start with a simple face made of three shapes. If you've done it a few times, try a pattern of small holes or a layered silhouette. Below you'll find ideas sorted by difficulty and style, plus the safety basics and a way to plan your design on paper first so you don't waste a pumpkin.
Before you pick a design
Three things decide how your pumpkin will turn out: the pumpkin itself, your tools, and your plan.
The pumpkin. Look for one with a smooth, flat-ish front and a firm stem. Pick it up and check for soft spots or cuts. A wide, round pumpkin is easier to carve than a tall, bumpy one. Carry it by the bottom, not the stem, which can snap off.
The tools. A regular kitchen knife is not a good carving tool. Carving kits (the cheap ones are fine) have small serrated saws that are easier to control and less likely to slip. You'll also want a big spoon or an ice cream scoop for cleaning out the inside, a marker for drawing, and a bowl for the seeds.
The plan. Draw it first. A design on paper tells you whether it will hold together, because every cut-out shape needs a bit of pumpkin connecting it to the rest.
Safety first (especially with kids)
Carving is a job for adults. Kids can help in ways that are safe and still fun:
- Scoop out the inside with a big spoon.
- Draw the design on the pumpkin with a washable marker.
- Press stickers or paint on the design.
- Sort and rinse the seeds.
The cutting is for the adult. Work on a dry table with a towel under the pumpkin so it can't slide. Cut away from your body, take small steps with the saw, and keep your hands out of the path of the blade. If the pumpkin is slippery or wet, wipe it dry first.
For lighting, a battery-powered LED light is safer than a real candle. Real flames and kids, costumes and porches are not a good mix. LED lights also don't heat the pumpkin from the inside, so your design lasts longer.
Easy pumpkin carving ideas for beginners
Beginner designs use big, simple shapes and few cuts. They're also the best choice if you're carving with a group.
- Classic three-shape face. Two triangle eyes, one triangle nose and a wide smile. It's classic for a reason.
- Happy round face. Circle eyes, a small round nose and a big curved smile. Use a spoon handle to trace the circles.
- One-tooth grin. A simple smile with a single square tooth sticking up or down. It looks silly in a good way.
- Sleepy face. Two curved lines for closed eyes and a little oval mouth. Barely any cutting.
- Surprised face. Wide round eyes and a big round mouth.
- Cyclops. One giant eye in the middle and a wide, goofy mouth.
- Smiley with sunglasses. Two big rectangle lenses and a curved smile.
- Moon and stars. A crescent shape and a few simple stars.
- Heart pumpkin. One big heart on the front. It works for any season.
- Simple ghost. A rounded ghost shape with two oval eyes and an oval mouth. Cut the whole outline out and put the light behind it.
Intermediate ideas
Once you can cut curves comfortably, try shapes with a few more details.
- Cat silhouette. A sitting cat with pointed ears and a curled tail. Keep the whiskers off the first try.
- Bat flying across the pumpkin. Three bats of different sizes look good together. See our bat coloring pages for wing shapes to copy.
- Spider and web. A web of thin lines is hard. Make the spider body a cutout and add a few thicker web lines.
- Owl. Two big circle eyes and a triangle beak. Add feather shapes with small half circles.
- Haunted house. A row of square windows and a pointed roof along the bottom.
- Pumpkin patch scene. A small pumpkin shape with a vine, carved into a big pumpkin.
- Funny teeth. Zigzag teeth along the bottom, with some missing. Mix big and small.
- Fish bowl. A round bowl shape with two fish and a few bubbles.
- Dinosaur. A simple long-neck or a toothy head from the side. Our dinosaur coloring pages are good inspiration.
- Friendly monster. A big mouth, three eyes and a few horns. Our monster coloring pages have plenty of faces to borrow.
Advanced pumpkin carving ideas
Advanced designs use small cuts, shaving, or multiple layers. Give yourself time and use a fresh pumpkin.
- Shaved silhouette. Instead of cutting all the way through, peel off just the outer skin in your shape. The light glows through the thinner flesh in soft tones. This is how you get shading.
- Geometric pattern. Rows of triangles, diamonds or stripes, cut as small holes. It's tedious but looks sharp.
- Mandala pumpkin. A circular pattern that spreads from the center. Our mandala coloring pages can serve as a pattern.
- Forest scene. Tall trees, a moon and a few small animals. Use two or three depths of carving.
- Wolf howling at the moon. A strong silhouette works well. See our werewolf coloring pages for pose ideas.
- Lace pattern. Small round holes in curved lines, like a doily.
- Skyline. A city or castle outline across the bottom with tiny window holes.
- Dragon. Long body wrapping around the pumpkin, with scales cut as little shapes.
- Underwater scene. A shark, bubbles and seaweed. Try our shark coloring pages for outlines.
- Portrait of a pet. Start with a simple outline of your dog or cat. The shaved technique helps with fur.
Spooky pumpkin carving without the gore
Many people want a pumpkin that looks spooky but isn't gory or violent. Here are styles that work for a front porch with kids around.
- Glowing eyes in the dark. Two small circle eyes and nothing else. In the dark, it looks surprisingly creepy.
- Crooked grin. Uneven zigzag teeth and slanted eyes.
- Spooky tree. A bare tree with twisty branches and a full moon.
- Ghost with a long, drifting tail. Cut a wavy shape that stretches up the side.
- Cobwebs in the corner. A web in one corner of the pumpkin with a spider hanging from it.
- Haunted mansion with bats. A tall house with lit windows and a few bats overhead. Our spooky Halloween coloring pages have scenes that translate well.
Cute pumpkin ideas
- Kitten face. Two triangle ears at the top, whiskers, and a small nose.
- Bunny. Tall ears made from extra pumpkin pieces or paper.
- Smiling sun. Round face with short triangle rays around it.
- Sleepy ghost. A soft, rounded ghost with closed eyes and a tiny smile.
How to plan your design on paper
A design on paper saves you from mistakes. Here's a simple way to do it.
- Pick a design with big, connected shapes. Thin lines can break off.
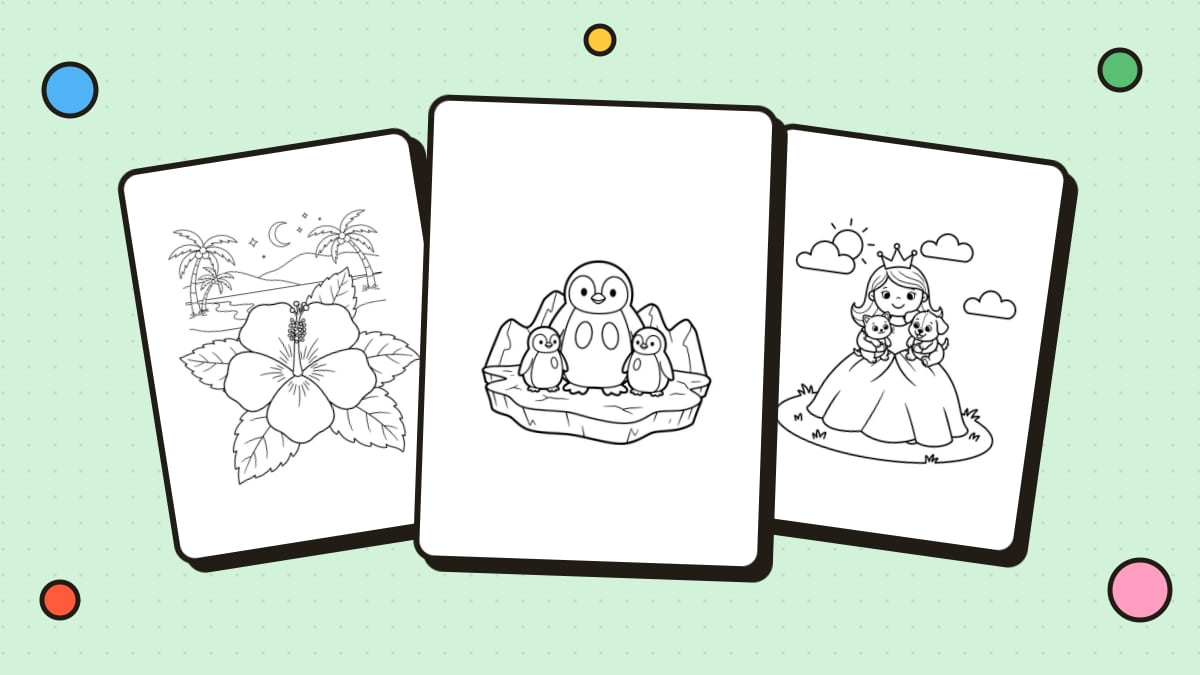
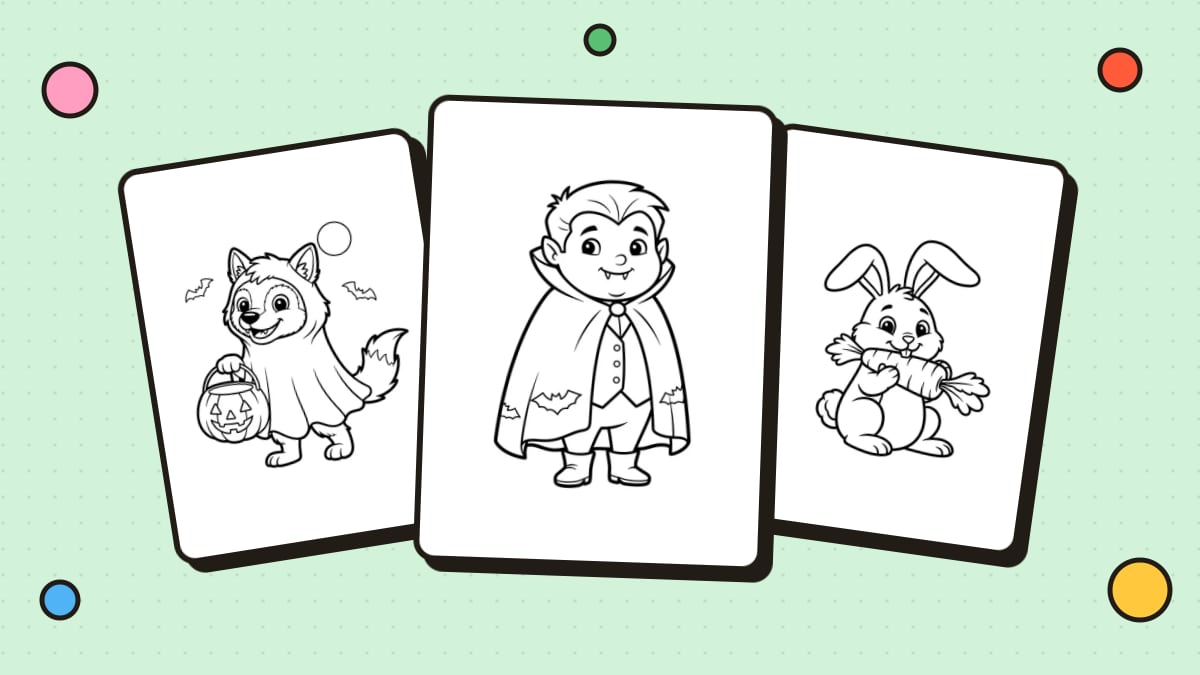
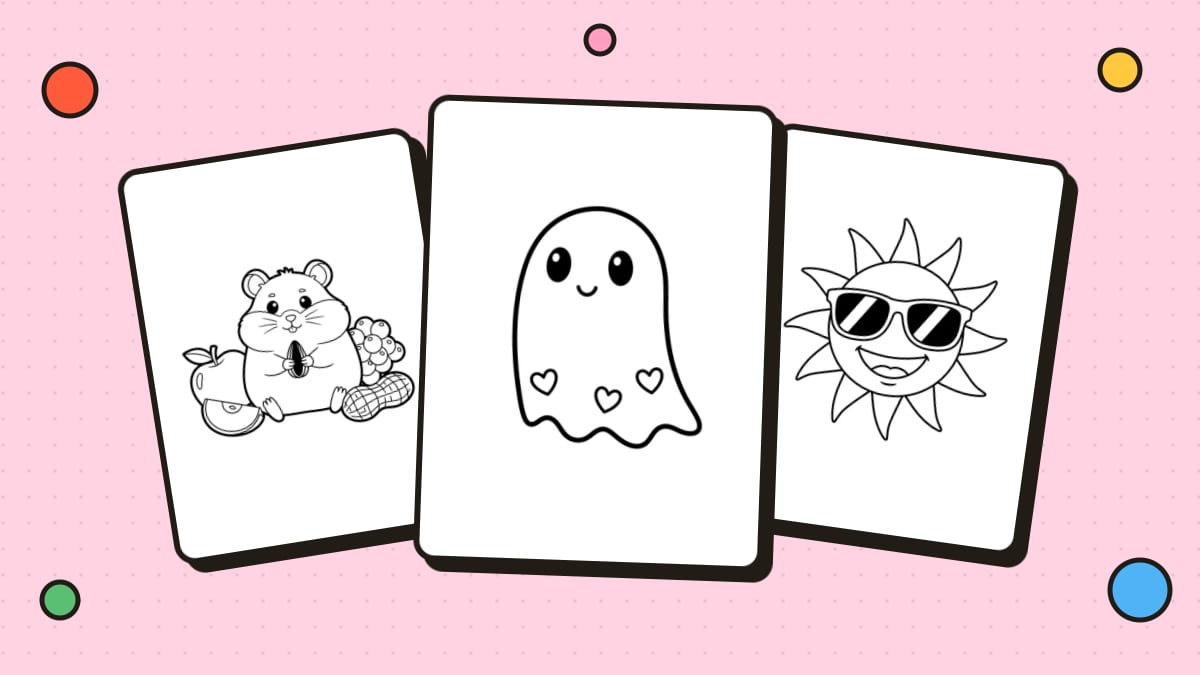
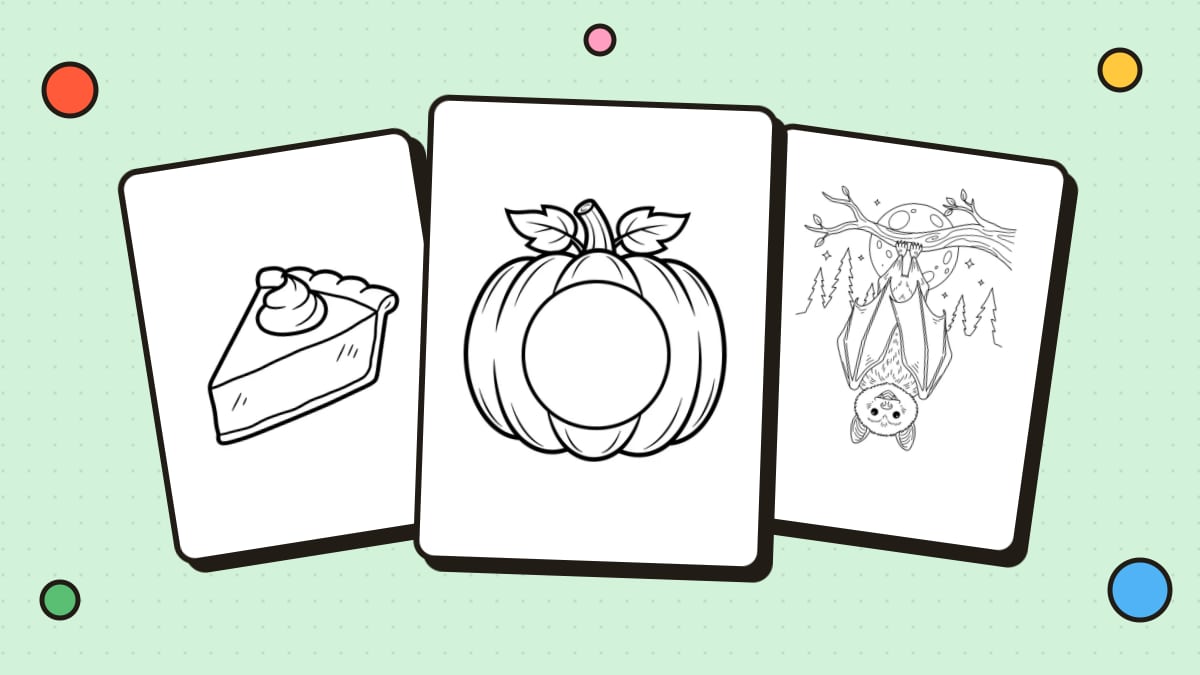
- Print a template. A simple outline works. Our pumpkin coloring pages and Halloween coloring pages have bold shapes that make good templates. Or make one with the AI coloring page generator, which lets you describe the exact subject you want.
- Color it in to decide which parts will be cut out (black) and which will stay (white). Kids love doing this step. If you need help printing, see our guide on how to print coloring pages.
- Check the bridges. Every black shape surrounded by white needs a thin "island" or connection. For example, the center of the letter O will fall out unless you leave a bridge.
- Transfer to the pumpkin. Tape the paper to the pumpkin. Poke small holes along the lines with a pin or poking tool, about a quarter inch apart. Remove the paper and you'll see a dotted outline to follow.
Steps for carving
- Cut a lid in the top, or a hole in the back or bottom if you want the stem to stay intact. Angle the cut inward so the lid doesn't fall in.
- Scoop out the seeds and stringy parts. Scrape the inside wall of the front until it's about one to two inches thick; thinner walls are easier to cut.
- Transfer your design.
- Cut the small details first, then the larger shapes. Push the cut pieces out gently from the inside.
- Clean up edges with a small knife or scraper.
Make your pumpkin last longer
Carved pumpkins don't last forever. Here are the usual tips people use:
- Carve it close to when you'll show it. A few days before Halloween is plenty.
- Wash the inside and outside with water before and after carving.
- Keep it cool. Heat and sun speed up rot. A shady porch is better than a sunny window.
- Bring it inside or into a cool garage if the weather is warm or very wet.
- Use LED lights, not candles, since heat dries and cooks the inside.
If a design is too much work, you can skip the carving entirely. The next idea is to decorate the outside; see our guide on pumpkin decorating ideas.
Don't forget the seeds
Rinse the seeds, dry them on a towel, toss them with a little oil and salt, and bake at a low temperature until they're golden. Keep an eye on them so they don't burn.
Related Halloween ideas
If you're building a whole Halloween weekend, our Halloween activities for kids list pulls together ideas for home, school and parties. For quieter time, print a few pages from our Halloween coloring pages and let kids color their own pumpkin designs before anyone picks up a knife.