Alcohol markers use dye dissolved in alcohol instead of water. The alcohol evaporates quickly, and while the ink is still wet it blends smoothly with the next layer, so you can color large areas without streaks and build soft gradients. That's why they're popular with illustrators, comic artists and adult colorists. They also need the right paper and a bit of practice.
This guide explains how they work, how to blend, and how to get good results on coloring pages. It doesn't recommend specific brands; most sets work the same way.
| Alcohol markers | Water-based markers |
|---|
| Ink | Dye in alcohol | Dye or pigment in water |
| Dries | Very fast | Slower |
| Blending | Smooth, re-wets earlier layers | Limited; can pill or tear paper |
| Streaks | Rare if used correctly | Common in large areas |
| Bleed-through | Yes, through most paper | Less |
| Smell | Noticeable alcohol smell | Little or none |
| Best for | Adults, teens, detailed blending | Kids, school, quick coloring |
For a general comparison of marker types, see best markers for coloring.
Alcohol ink soaks into paper and spreads, so:
- Always put a scrap sheet underneath. Ink bleeds through almost all paper.
- Use smooth, heavy paper or paper sold for markers. It keeps colors brighter and edges sharper.
- Print coloring pages on card stock or marker paper if your printer allows (see how to print coloring pages).
- Use single-sided pages in coloring books, or slip a sheet behind each page.
- Ink from laser printers is fine; some inkjet ink can smear under alcohol markers, so test first.
- Work in small circles or short strokes, not long, slow lines.
- Keep the area wet. Move quickly so the edge of your coloring doesn't dry before you reach it.
- Saturate the paper. Light, dry passes cause streaks; enough ink to wet the paper evenly gives smooth color.
- Color up to the line, not over it. The ink will spread slightly.
Light to dark (layering). Lay down your lightest color over the whole area. While it's still damp, add a darker color where you want shadows. Go back over the edge with the light color to soften it.
Two-color gradient. Color one end with a dark color and the other with a light one, then work the light color back into the dark to blend them where they meet.
Flicking. Make quick strokes that start in the shadow and lift off the paper as you move outward. Great for hair, fur and grass.
Colorless blender. Many sets include a marker with no color. Use it to soften edges, push color outward, or lift a little color for highlights.
Choose colors in the same family for smooth blends: a light, medium and dark of one color work better than two very different colors. Our color mixing chart can help you plan.
Beginner tips for coloring pages
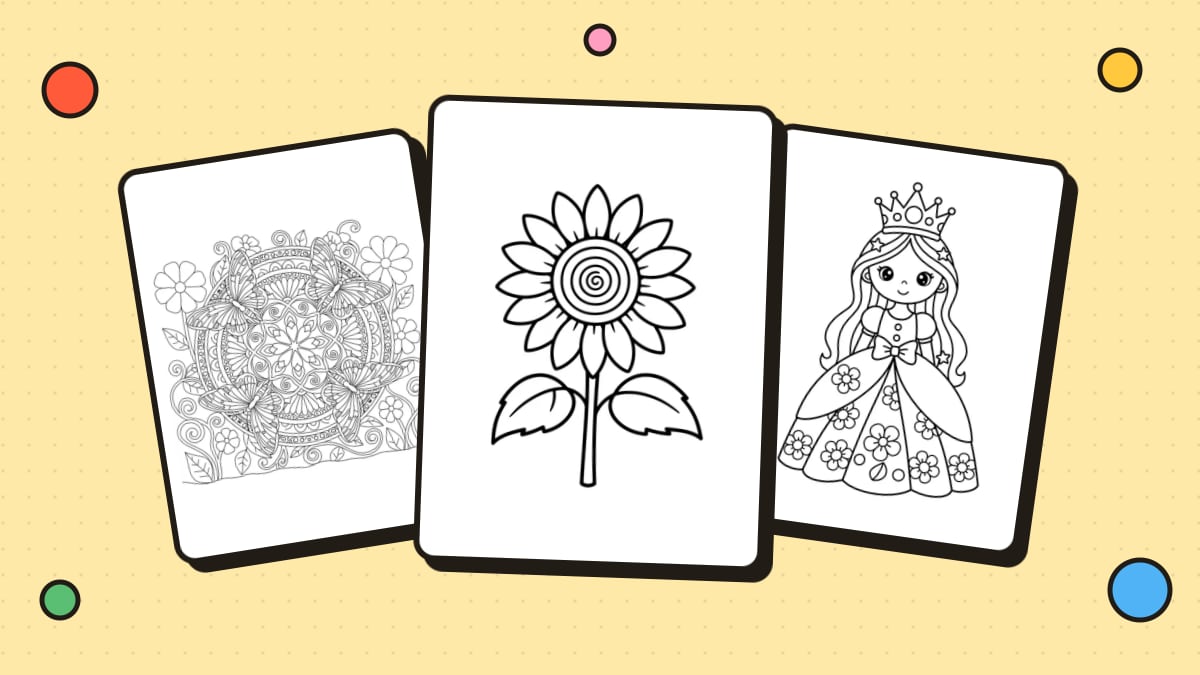
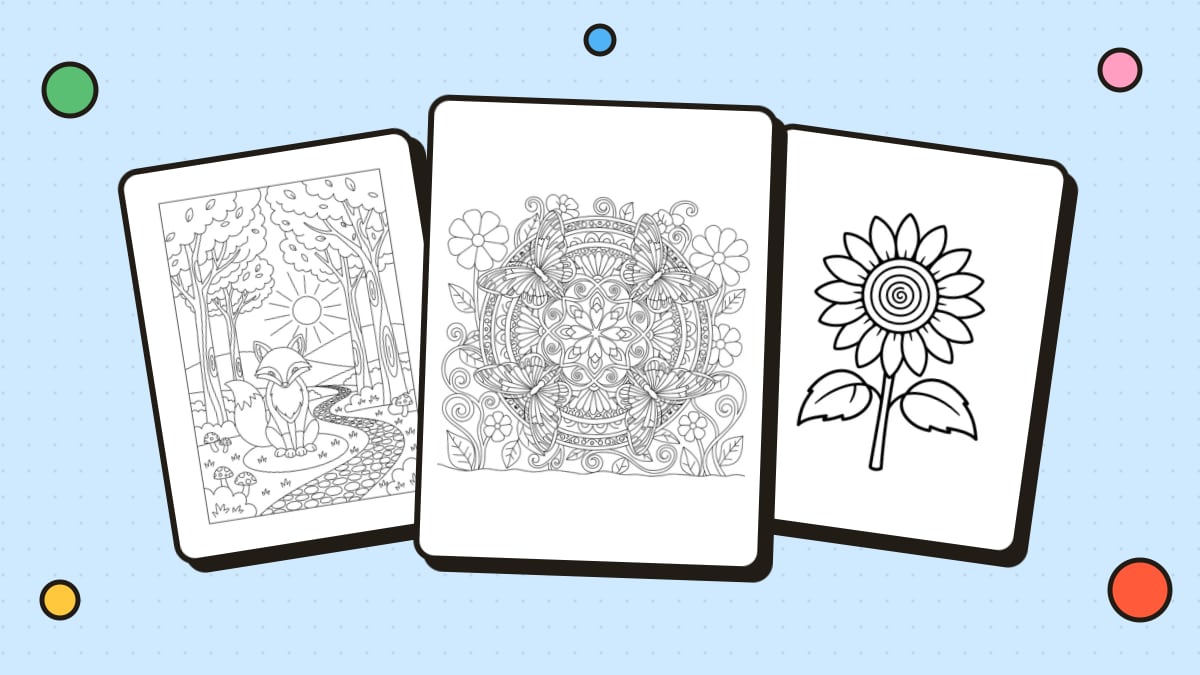
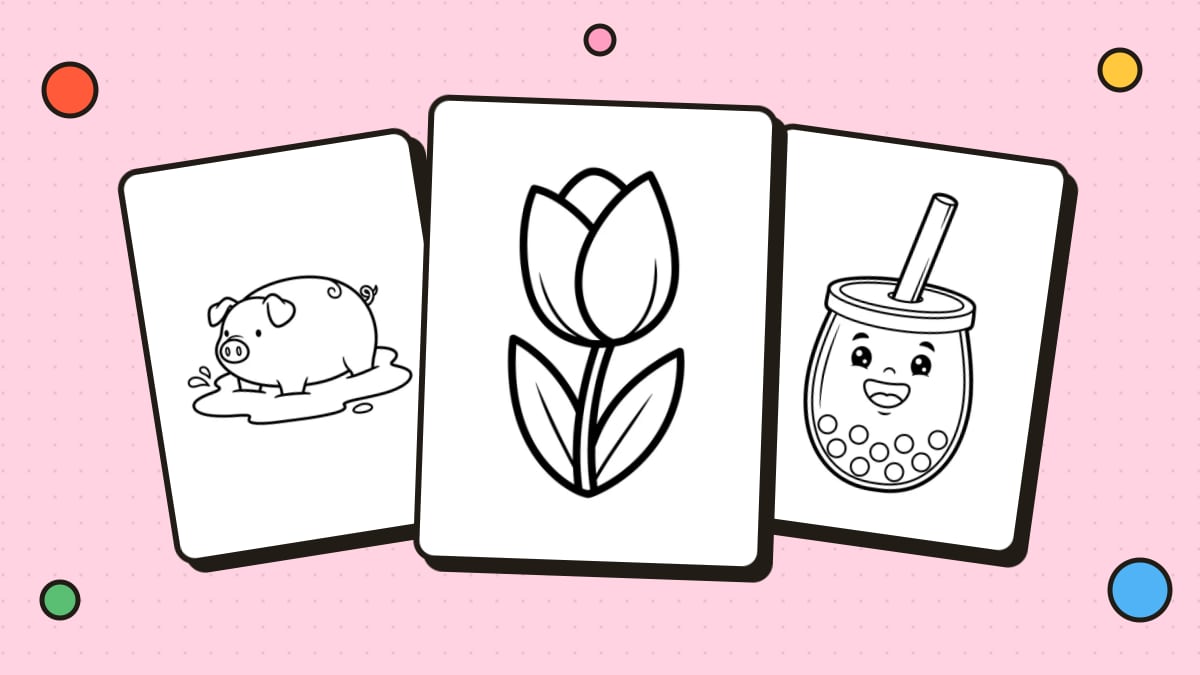
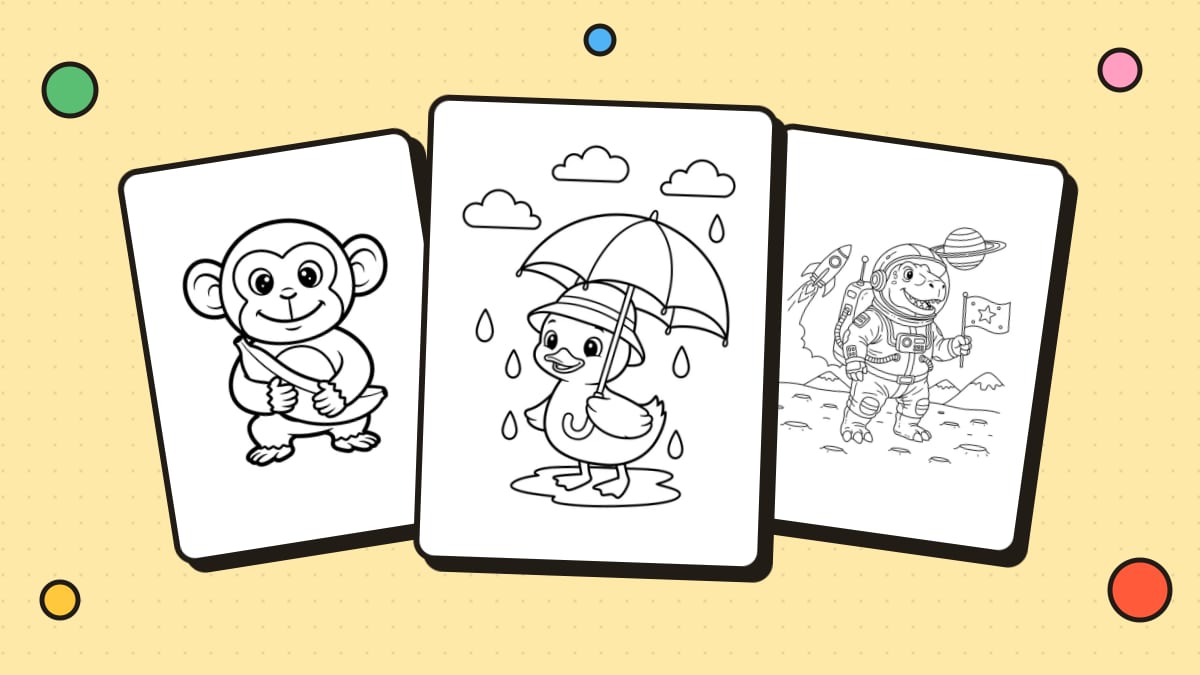
- Start with pages with larger shapes, like our cute coloring pages, before detailed mandalas.
- Test colors on scrap paper. The cap color is often different from the color on paper.
- Color the lightest areas first. It's easy to go darker, hard to go lighter.
- Leave white for highlights. Small white spots on eyes, shiny surfaces and water make things look alive.
- Add details at the end with fine-liner pens or colored pencils once the ink is dry.
- Use them in a ventilated room.
- They're not ideal for young children. The smell, the stain on clothes and skin, and bleeding through paper make water-based markers a better choice for kids.
- Cap them tightly. Alcohol evaporates and markers dry out.
- Store them flat (or as the maker suggests) so ink stays evenly spread in two-ended markers.
- Many alcohol markers are refillable, which saves money over time.
If you want soft, paint-like washes without strong smells, try watercolor pencils. For controlled layering and fine detail, see how to color with colored pencils.